Technology
Our Setup
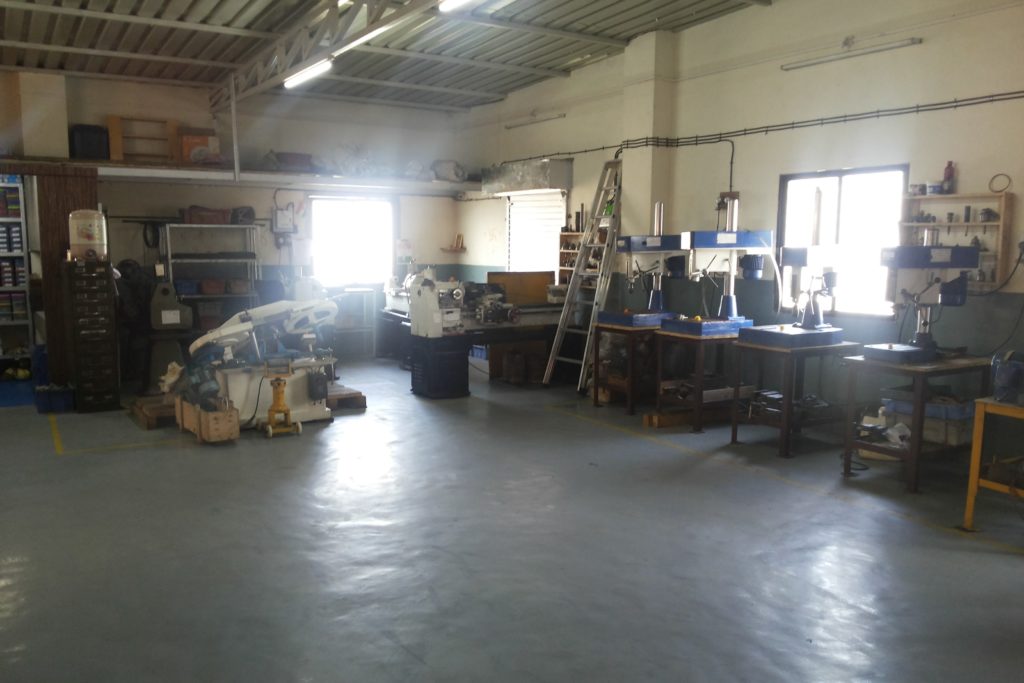
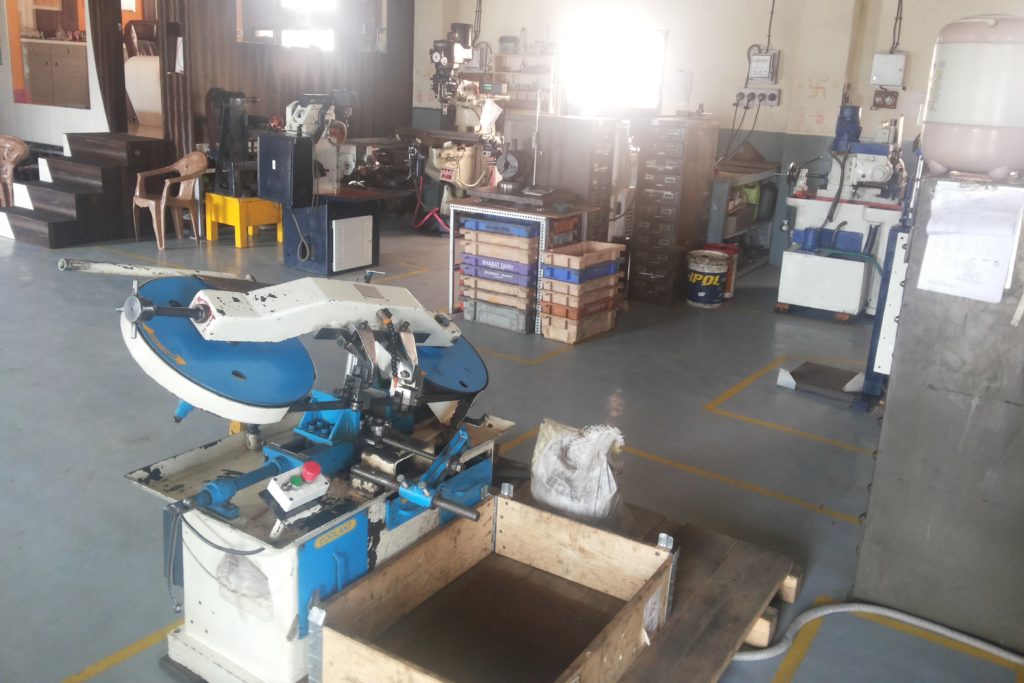
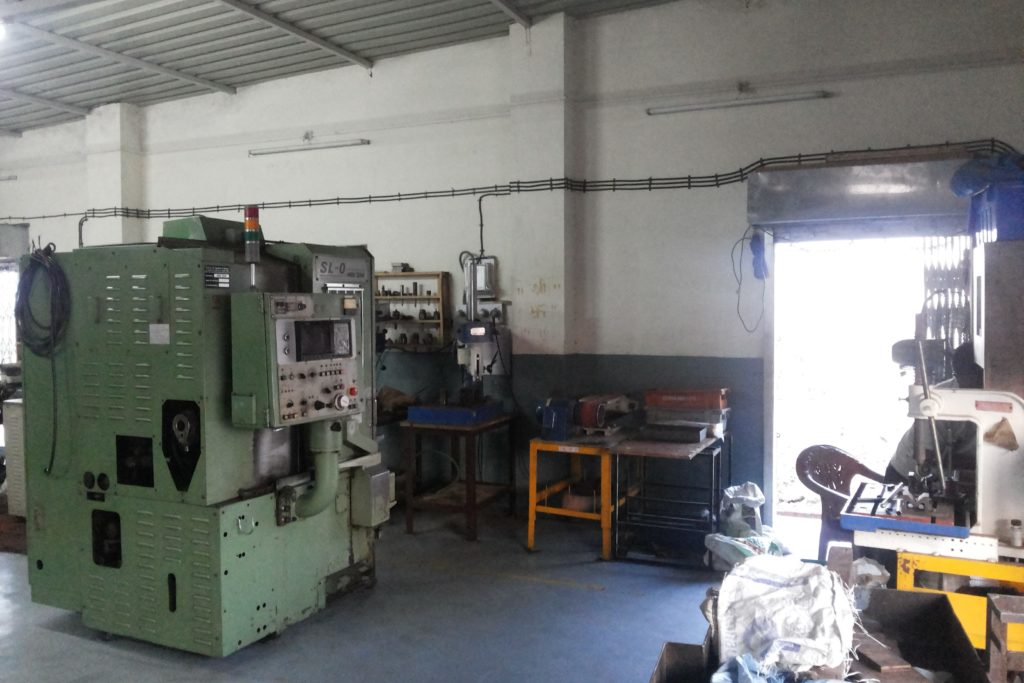
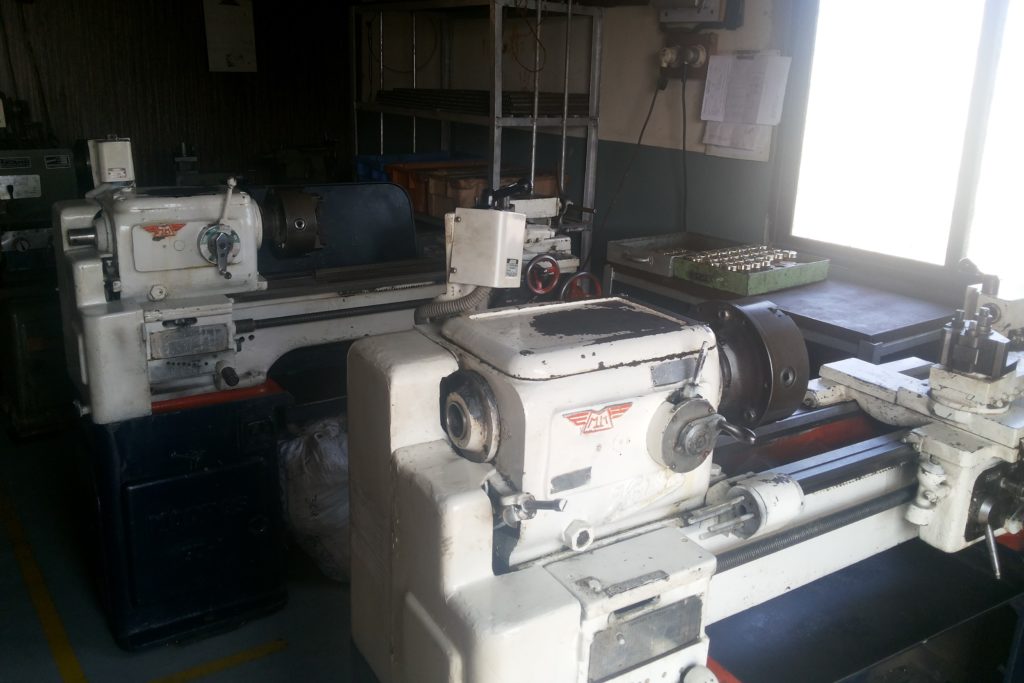

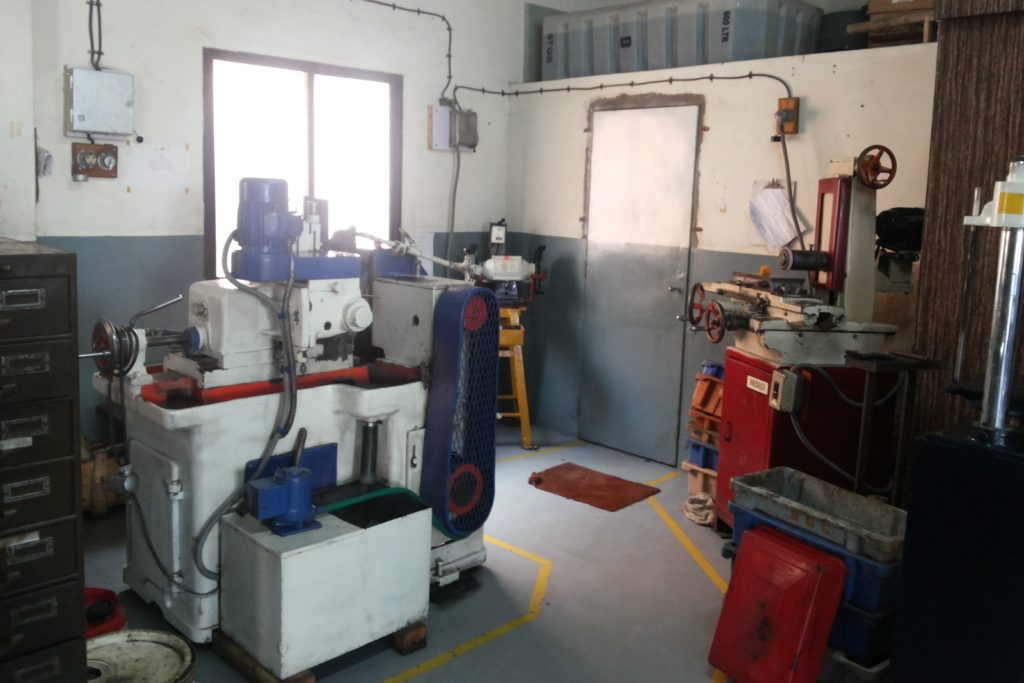
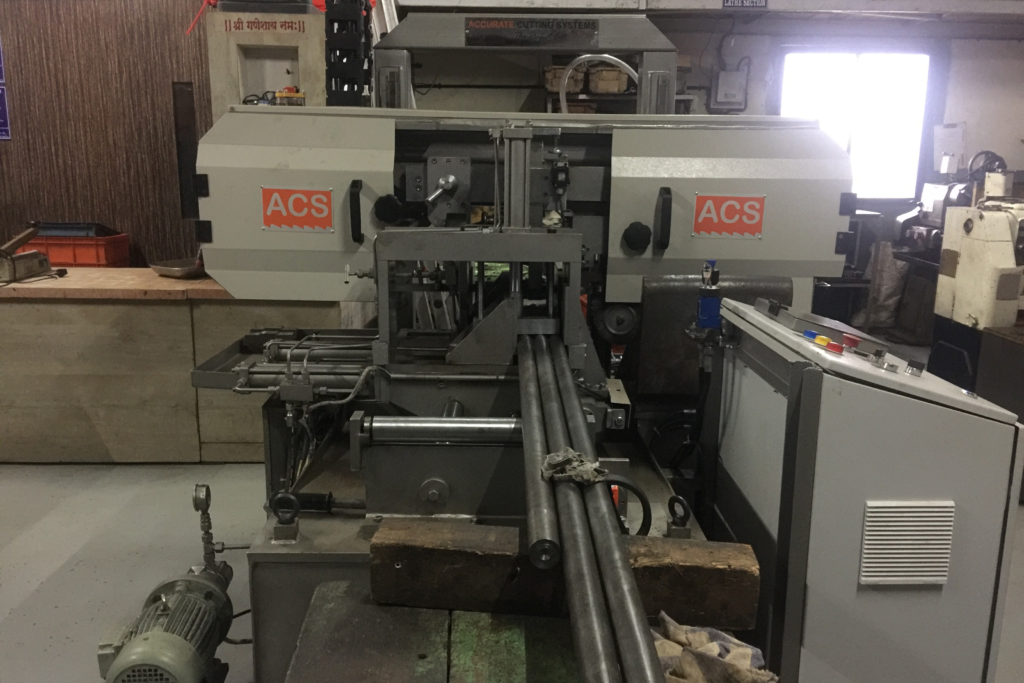
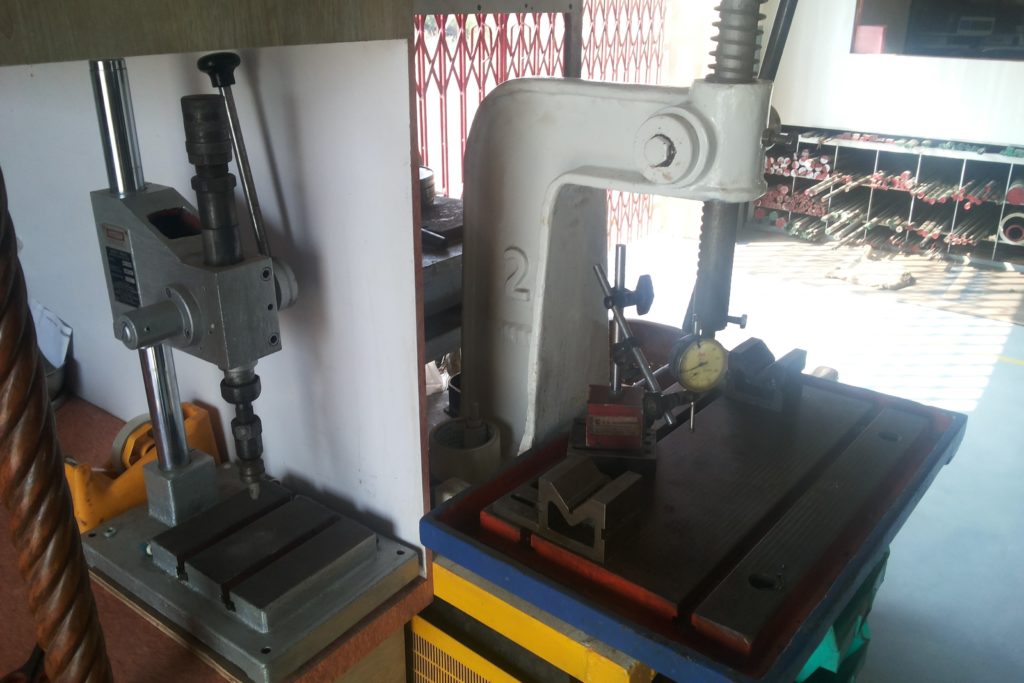
VK Engineering is supported by a multi-talented workforce that works in an 2000 Sq. Ft. full-fledged machining facility, built for the purpose of manufacturing precision components situated in Pune, Maharashtra (India).
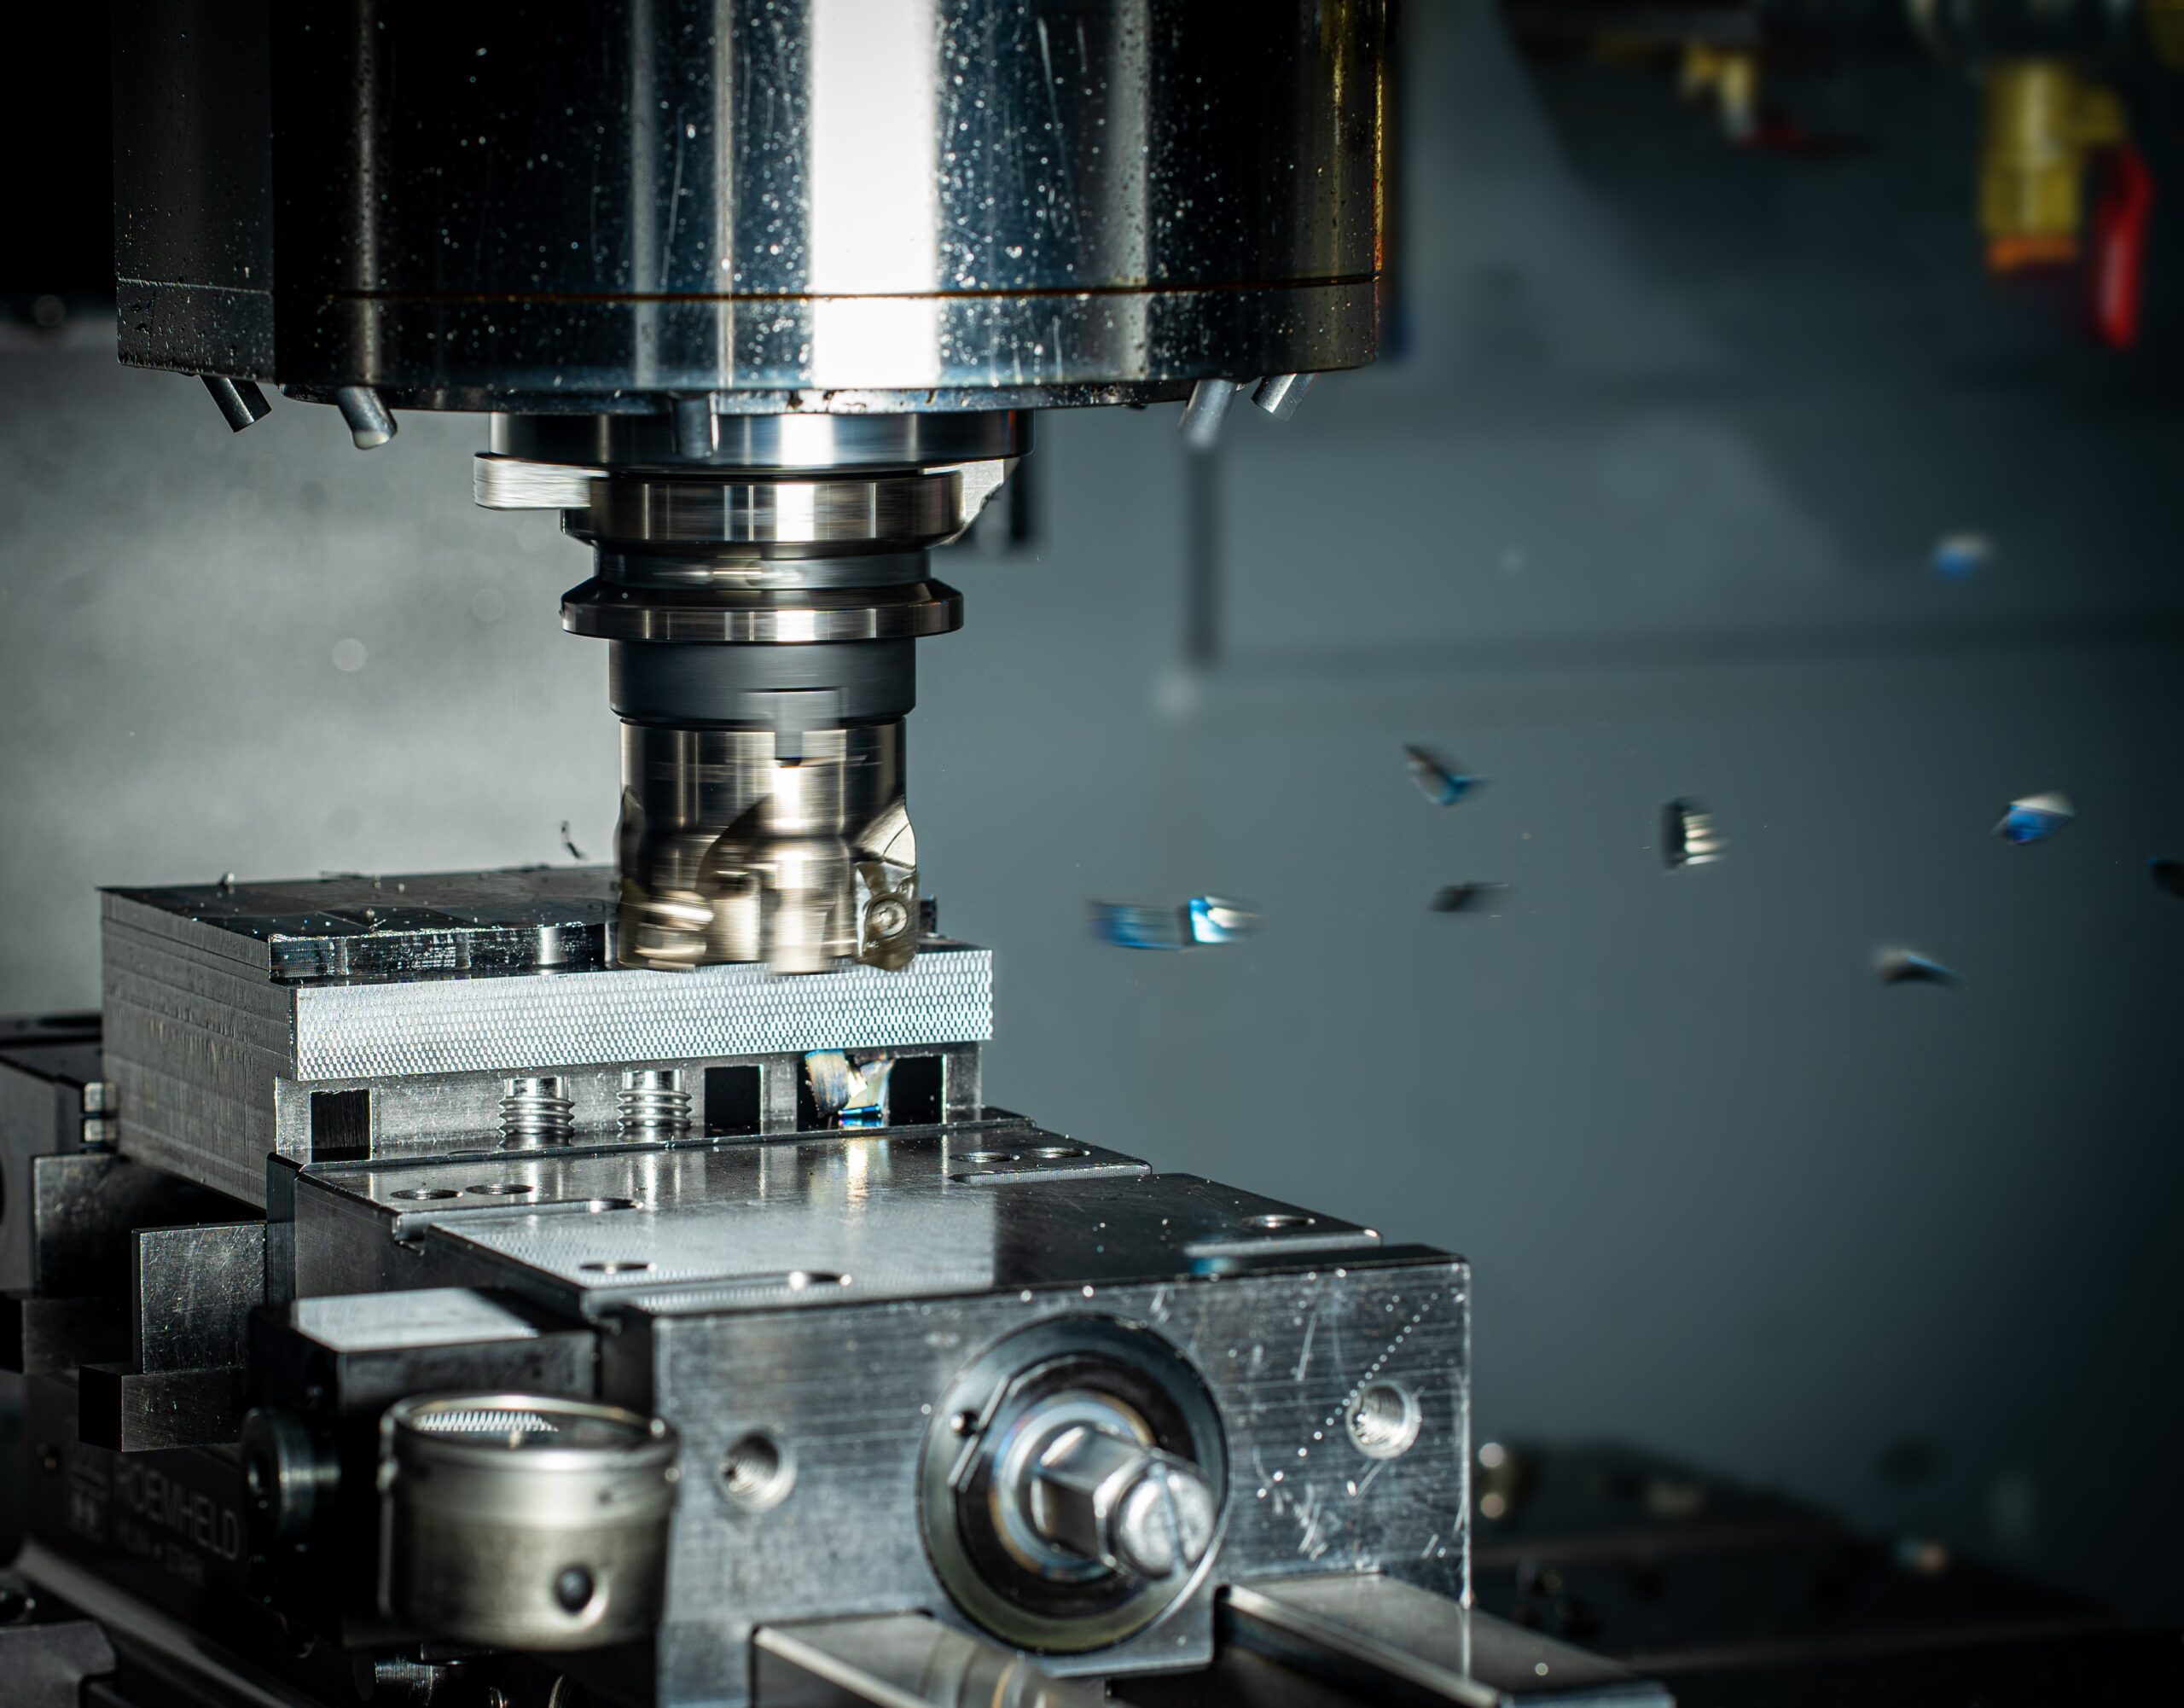
At our facility, we have installed highly remarkable machines and equipment that meet all the quality parameters expected by our clients. We accord the highest priority on precise measurements and the best production standards while manufacturing a whole range components.
Our machinery setup includes :
- CNC Turning Centre
- Conventional Lathes
- M1TR Milling Machines
- Horizontal Milling Machines
- Universal Milling Machines
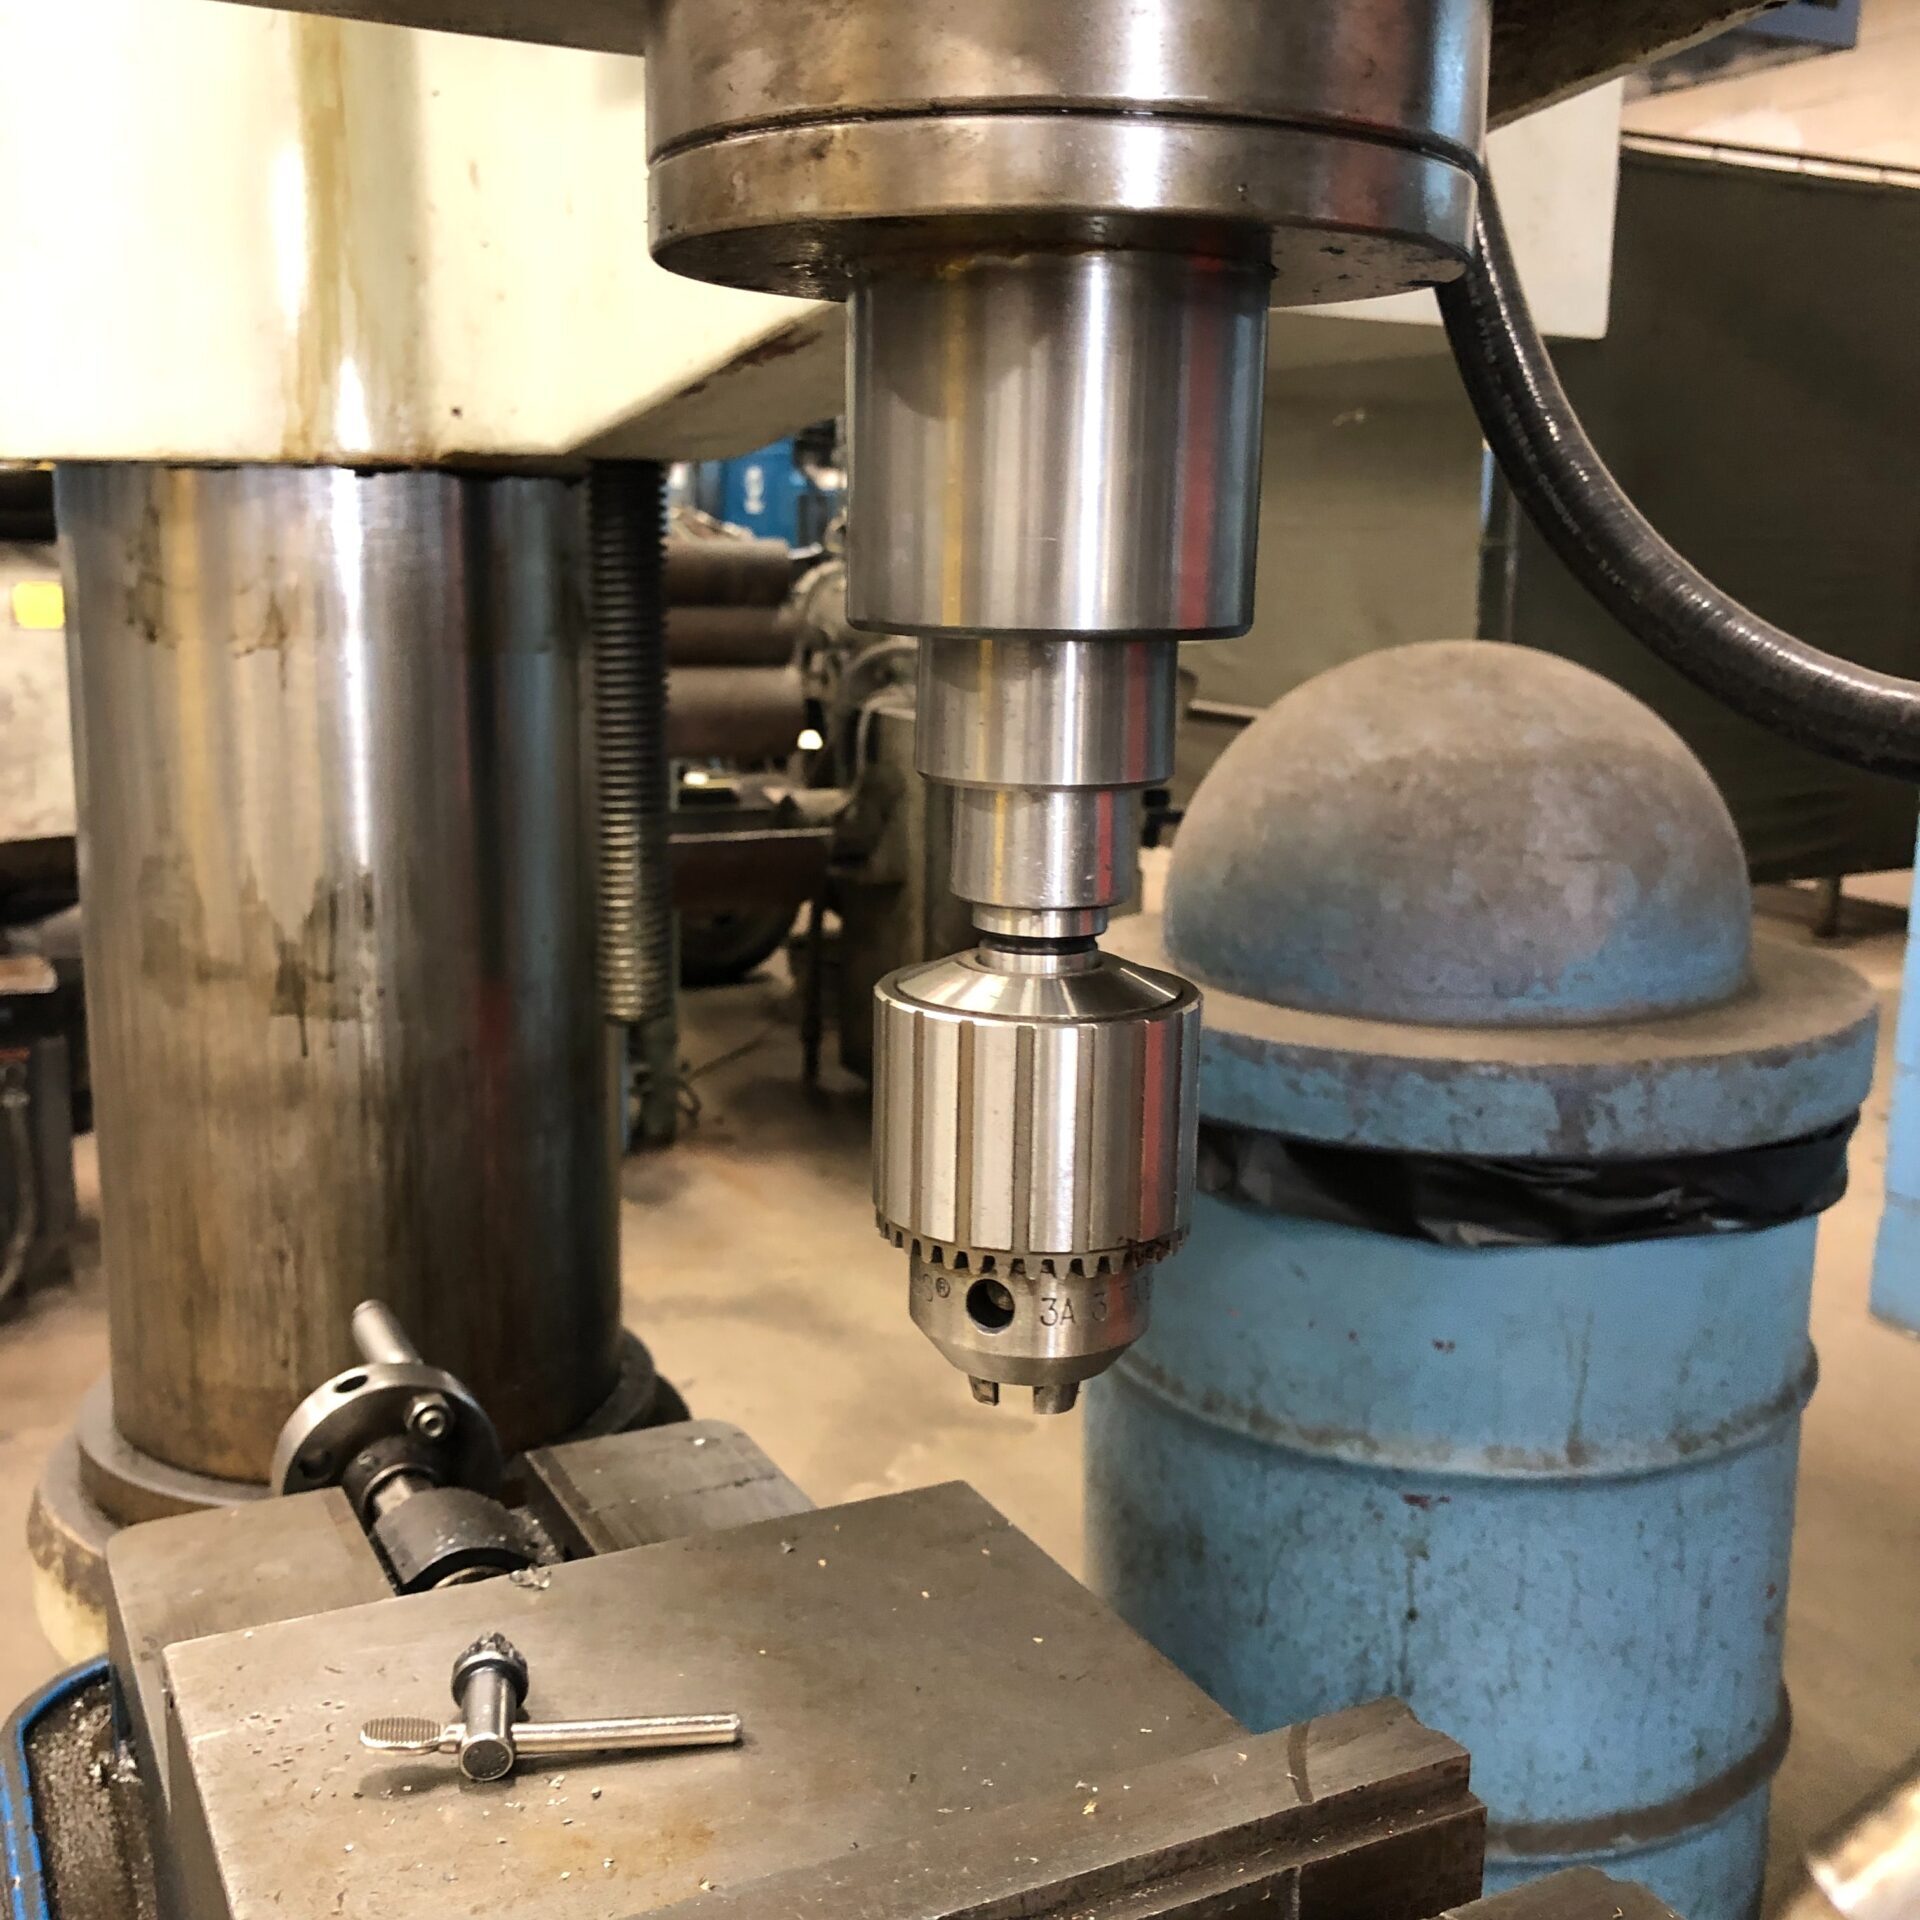
- Drilling Machines
- Automats
- Centreless Grinding Machines
- Surface Grinding Machines
- CNC Bandsaw
- Conventional Bandsaw

Our Competency
Accuracy, Preciseness and Agility are the guiding pillars of our manufacturing operations. We have demonstrated pretty strong results in manufacturing components of various sizes and complexity. Our Technical Superiority is proven by these parameters :
Component Length
0.75 mm to 1000 mm
OD Tolerance
Upto 2 micron
Surface Finish
0.8 Ra, 1.2 Ra and 1.6 Ra
Flatness
0.01 micron
OD Threading
M3 to M64
ID threading
M3 to M165
Raw Material We Have Worked With
Inconel 600, Inconel 617, Inconel 625, Inconel 718, UNS31803, UNS32750, UNS32760, UNS NO6625, UNS NO8926, UNS31254, UNS NO4400 (Monel K400), UNS NO5500 (Monel K500), HAST Alloy-B, HAST Alloy-C276, Al-Bronze, Alloy-20, 17-4PH, Titanium, Copper (ETP), Brass, Bronze, SS316, SS316L, SS316 STH, SS316Ti, SS304,SS304L, SS317, SS410, SS420, SS347, M.S/ISO 62, EN1A, EN8/C45, EN19, EN24, EN31/100Cr6, EN36 and more.
Quality Uncompromised
Quality Control

Well Calibrated Instruments
Our quality department is fully equipped with most advanced instruments. To ensure the quality of every single part, we use the most recently calibrated inspection equipment and latest methods to meet the required set of criteria.
Thorough Inspection Process
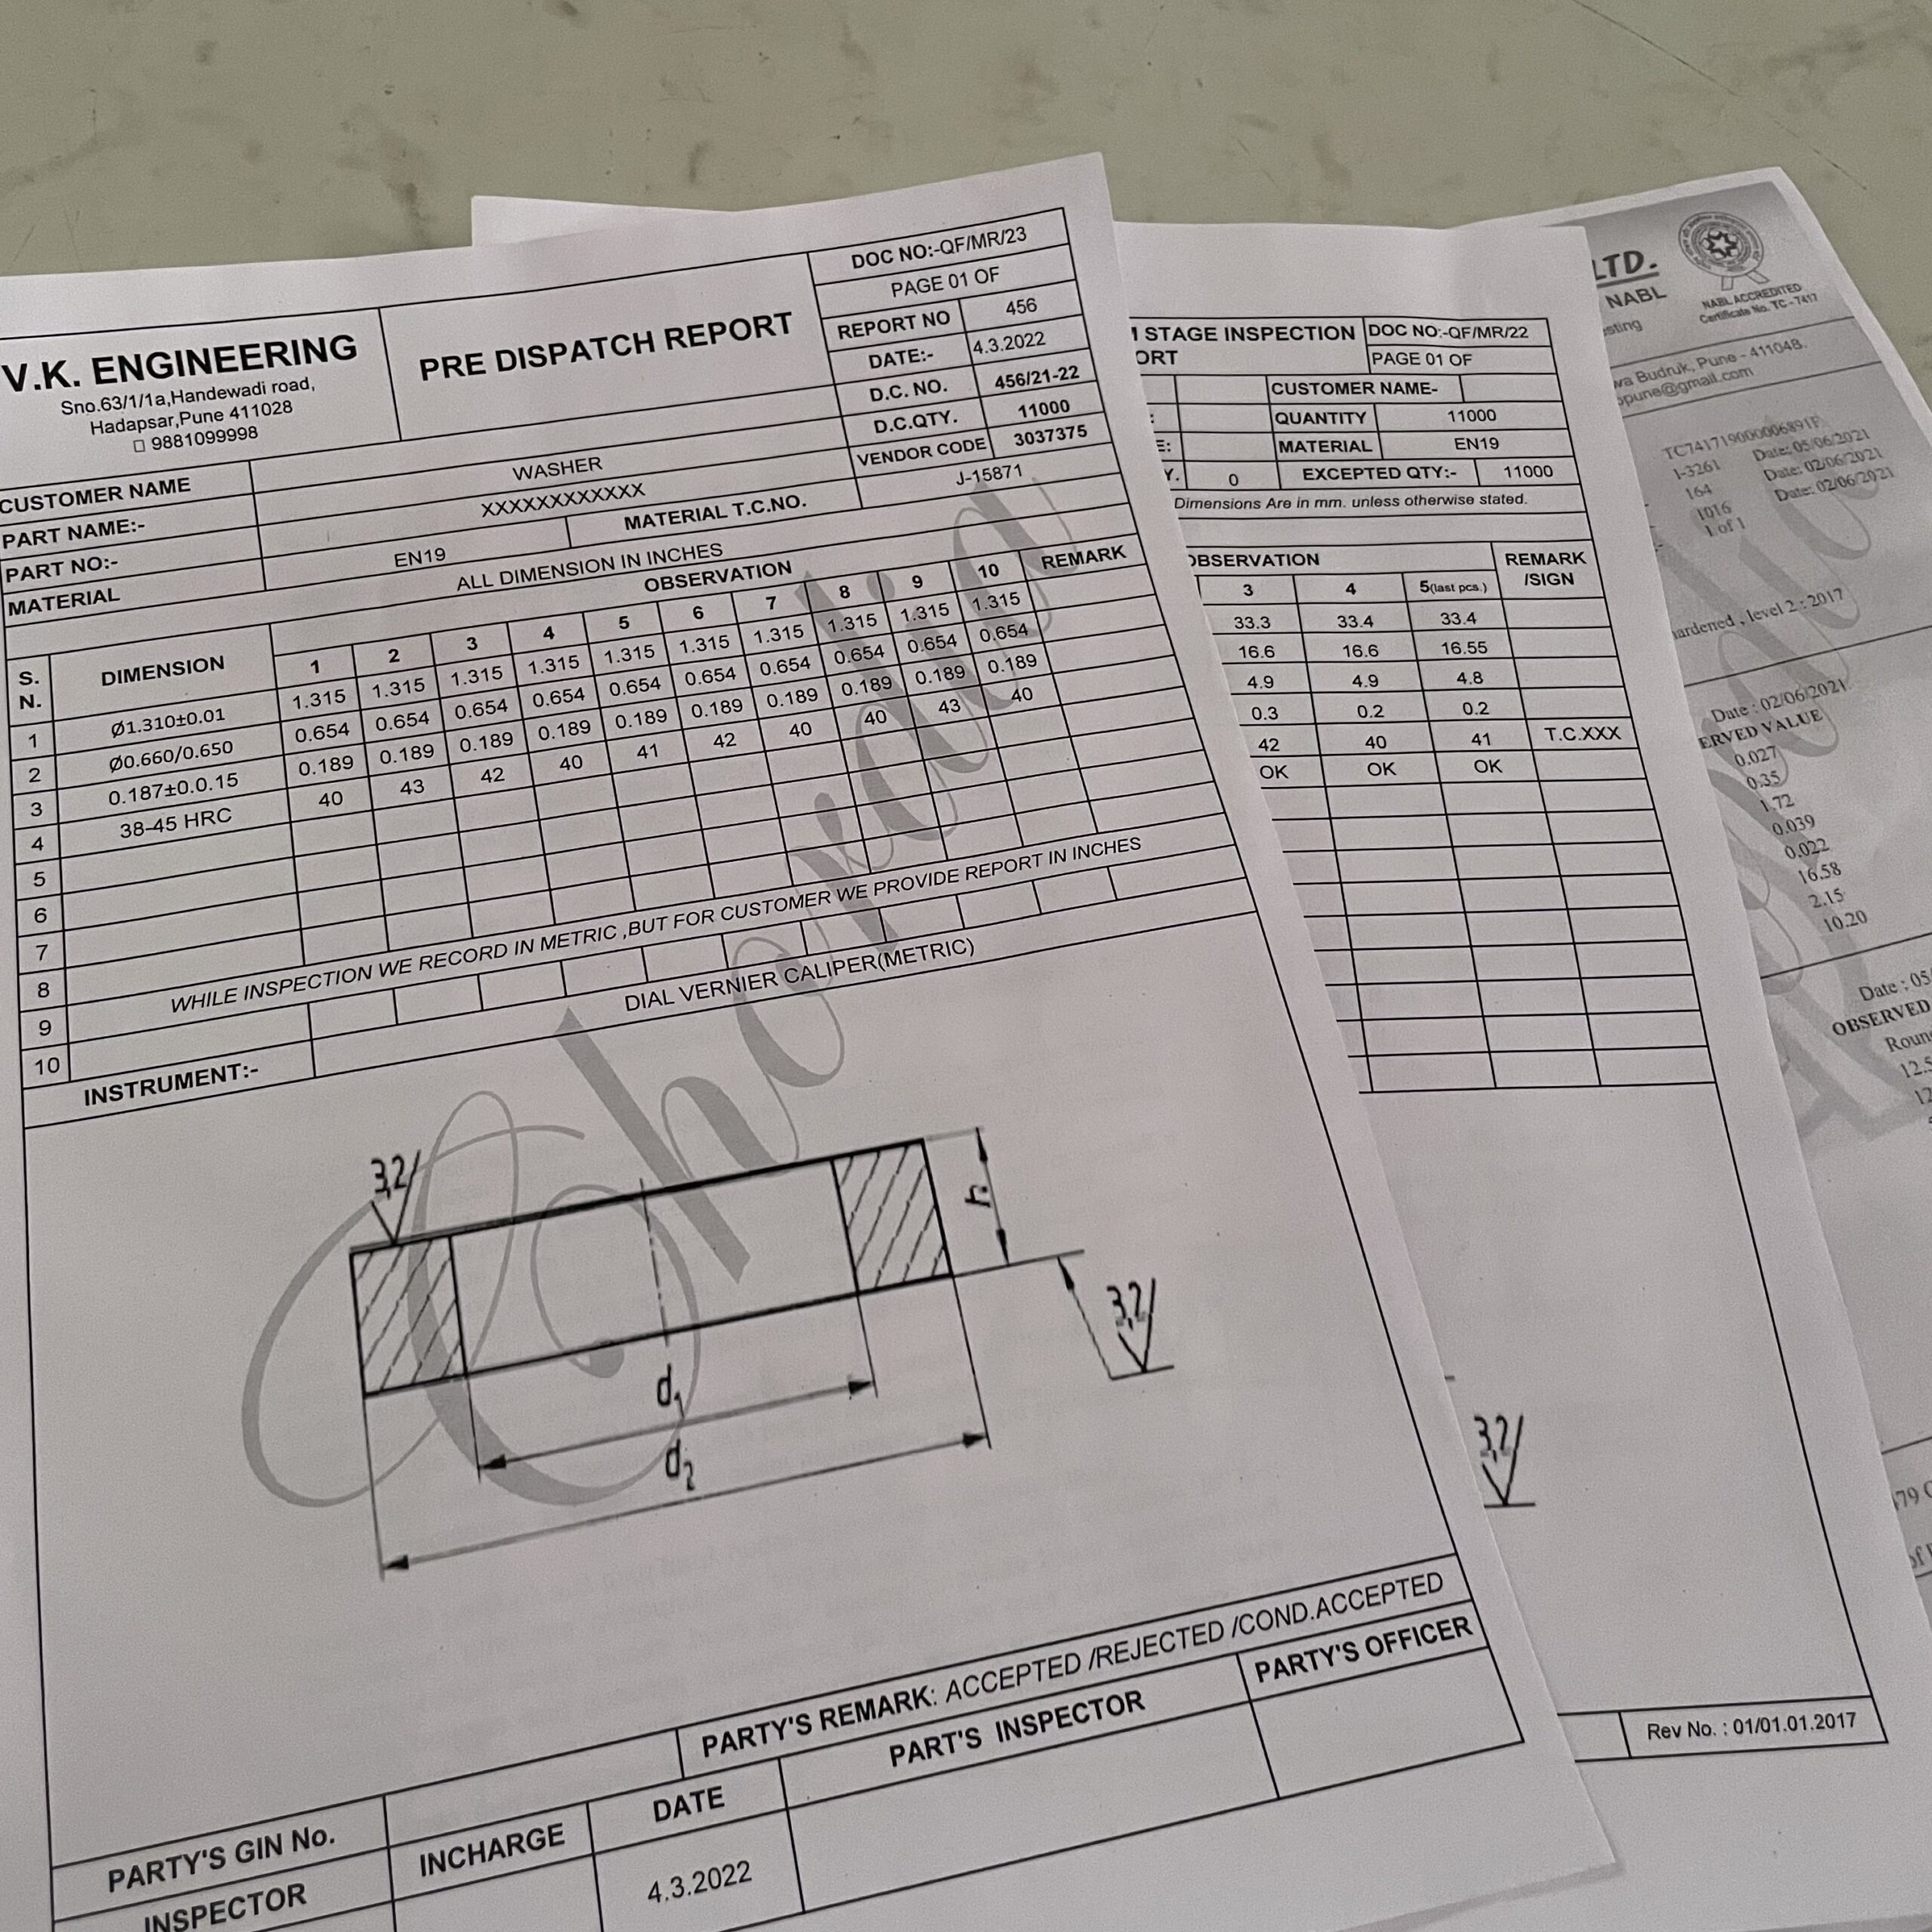
The measuring instruments used by us can inspect the most complex parts. We provide our customers with PDIR and 3.1 Certificates with each component. All the other reports generated during the production are digitally archived post-process for permanent records, available at any time upon request.
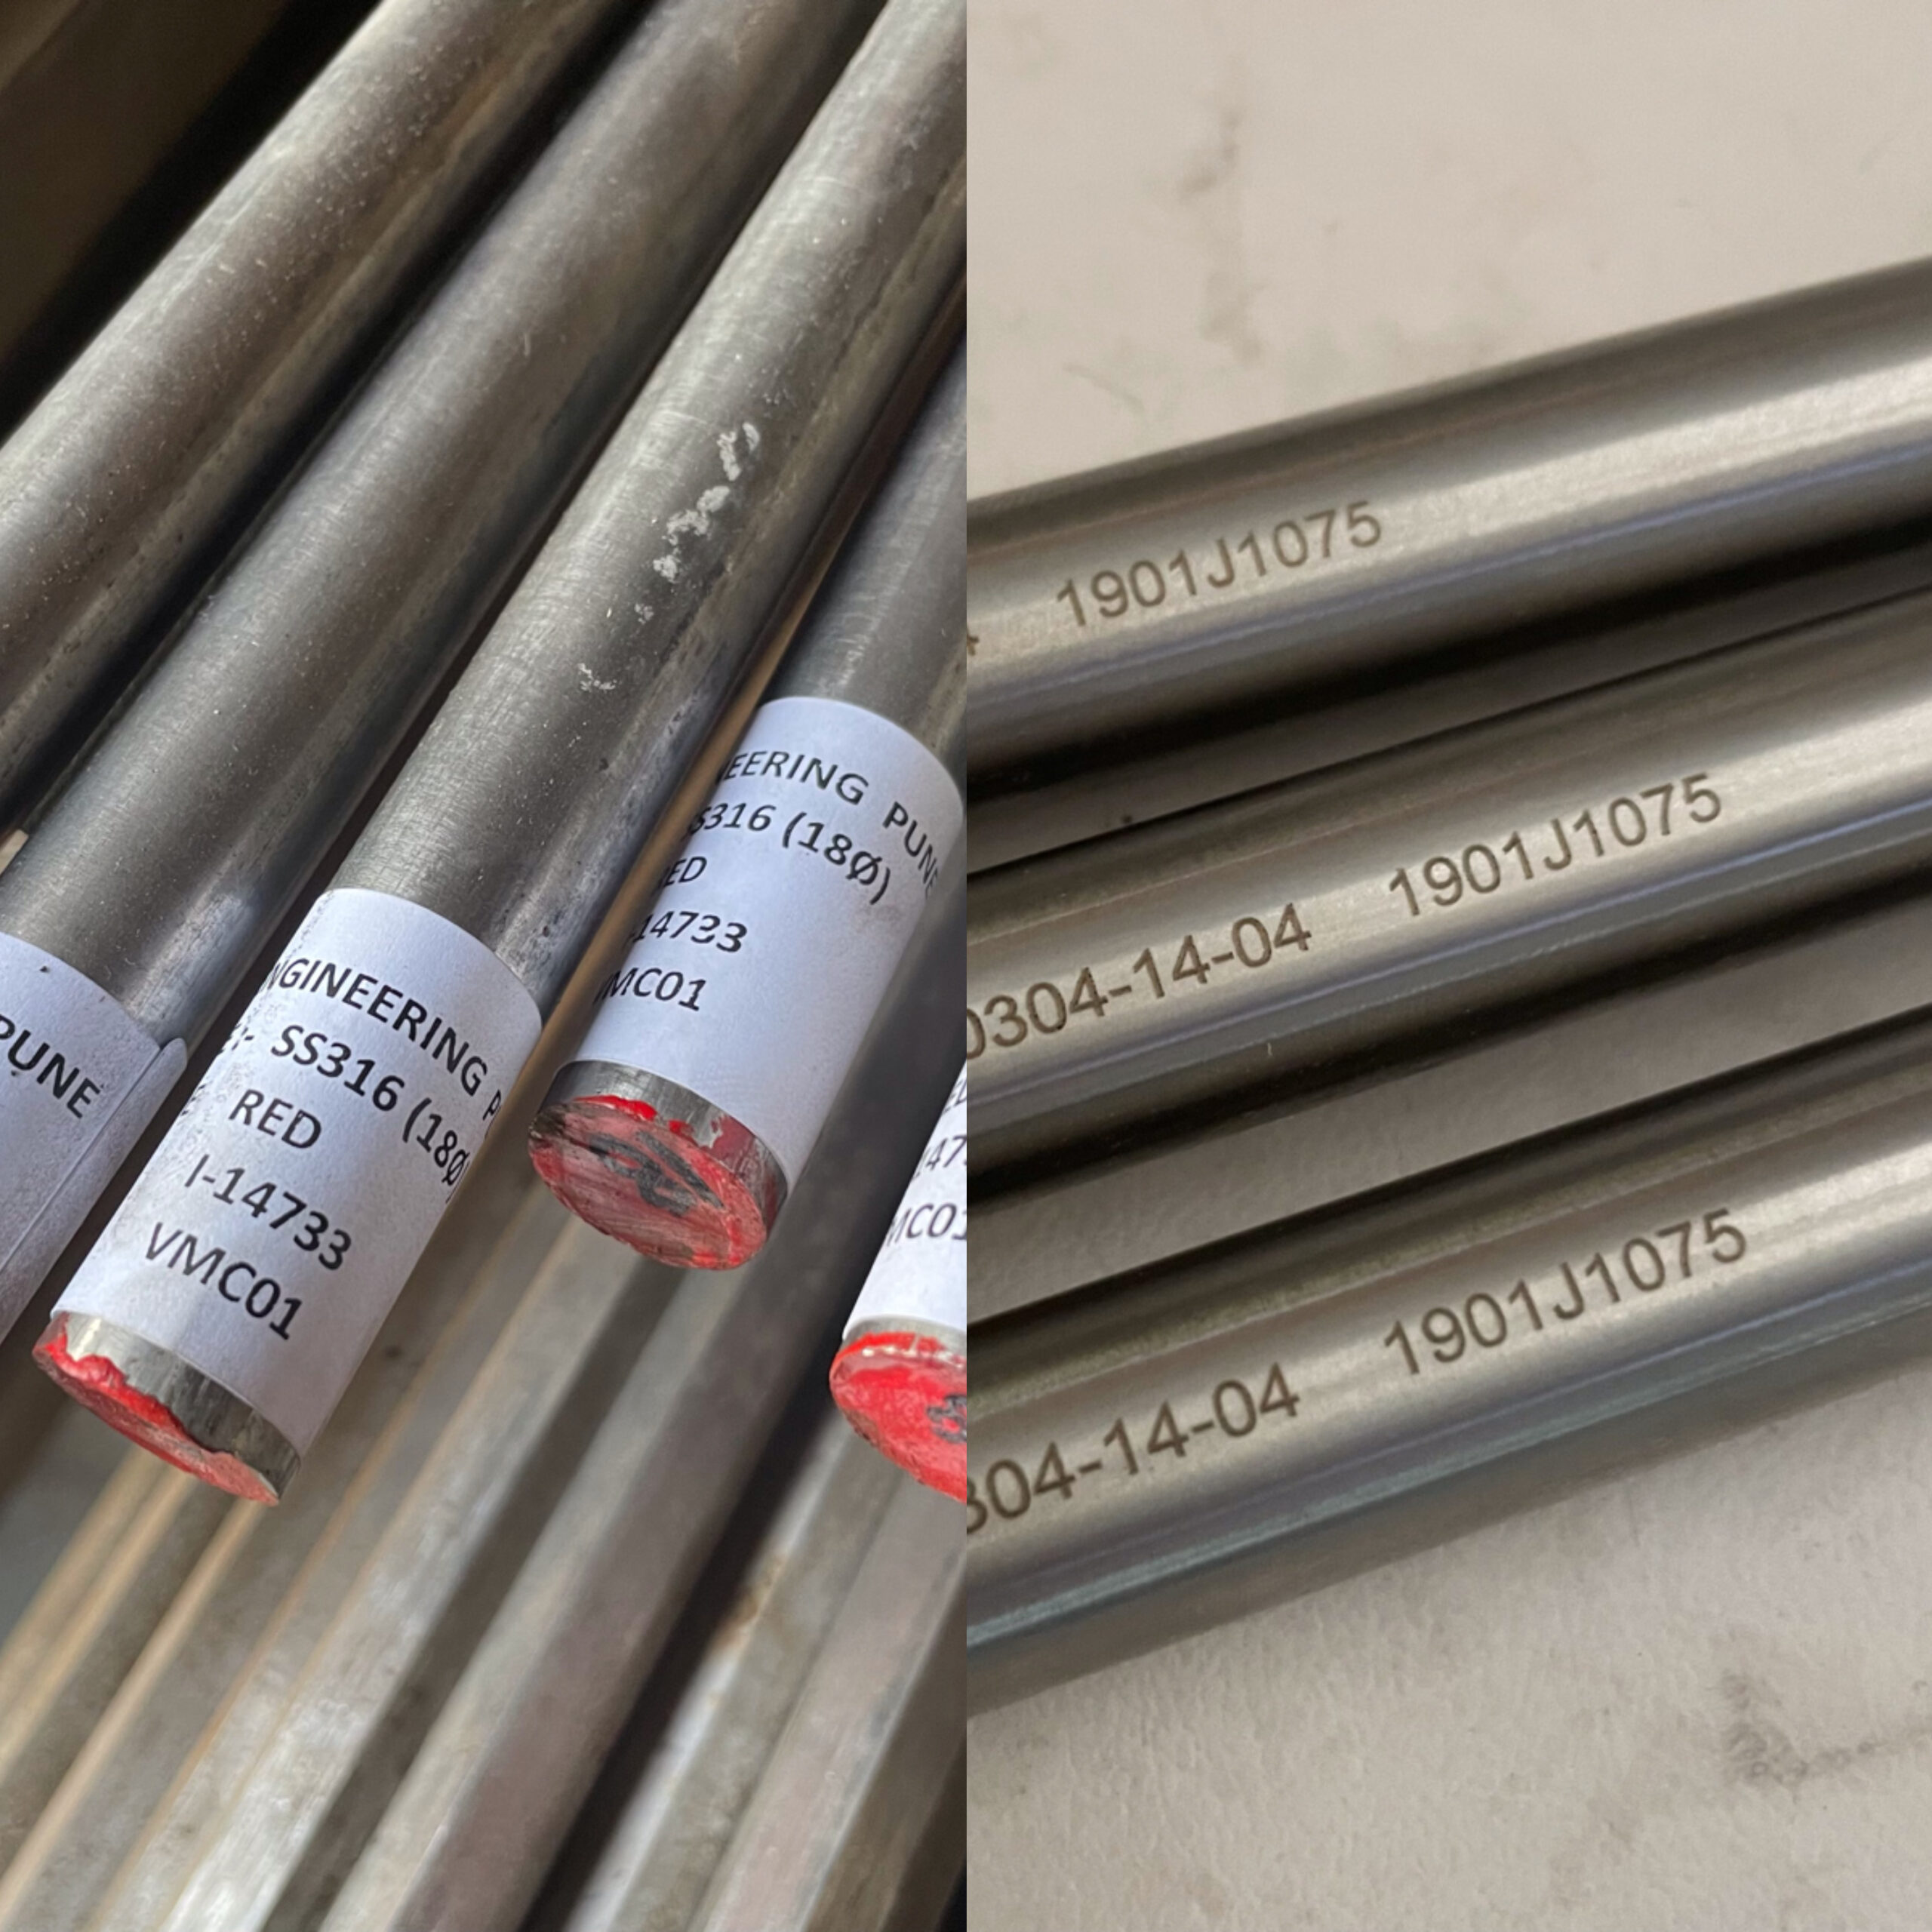
100% Raw Material Traceability
Required parameters of raw material are inspected at the inward stage and upon verification the raw material is tagged with the details. The same details are passed on at each stage of production and are maintained till the final component is produced. Once the final component is ready, the part code and heat code are marked on the body of the component
